Setting Up Your First Account
Last updated: 2026-08-22
Adding your first account takes about a minute. Greenline walks you through three short steps.
Steps
- Open Greenline and tap Add Account.
- Choose the account type. TFSA, RRSP, RESP, FHSA, Non-Registered, LIRA, RRIF and others, plus Crypto if that’s what you’re tracking. Pick the one that matches the account at your brokerage.
- Choose where you hold it. Select your brokerage from the list.
- Give it a name. Something you’ll recognize later, like “My TFSA” or “Joint Non-Reg.” Greenline suggests one, and you can keep it.
That’s it. The account appears on your dashboard right away, empty and waiting for data.
Getting your data in
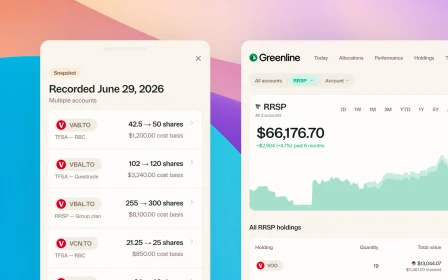
Open the account and press Upload. You can bring in a statement PDF, a CSV from your brokerage, or a screenshot of your holdings. You can also enter holdings by hand if you’d rather.
Each of the brokerages Greenline supports has its own download guide, listed on the support page.
Good to know
- You can rename an account at any time, and change its type if you picked the wrong one.
- Not seeing your account type? If you’re set to a country other than Canada, Greenline shows a simpler list (Taxable, Tax-Free, Retirement, Education) instead of the Canadian registered accounts.
- How many accounts you can add depends on your plan. If you reach the limit, Greenline tells you at the point you’d add the next one.
Still need help? Reach out at support@usegreenline.com.
Still having trouble?
Reach out and we'll help you get set up. We usually reply within a day.
Email support@usegreenline.com